Sweatsuit

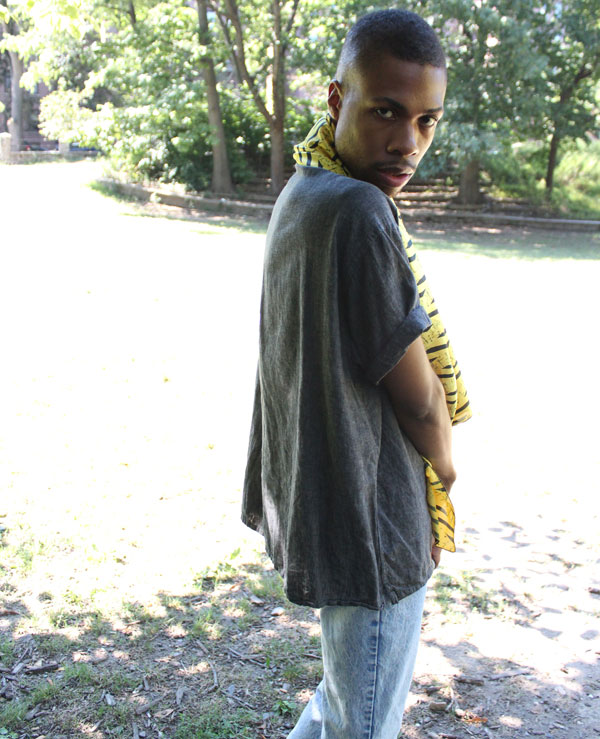
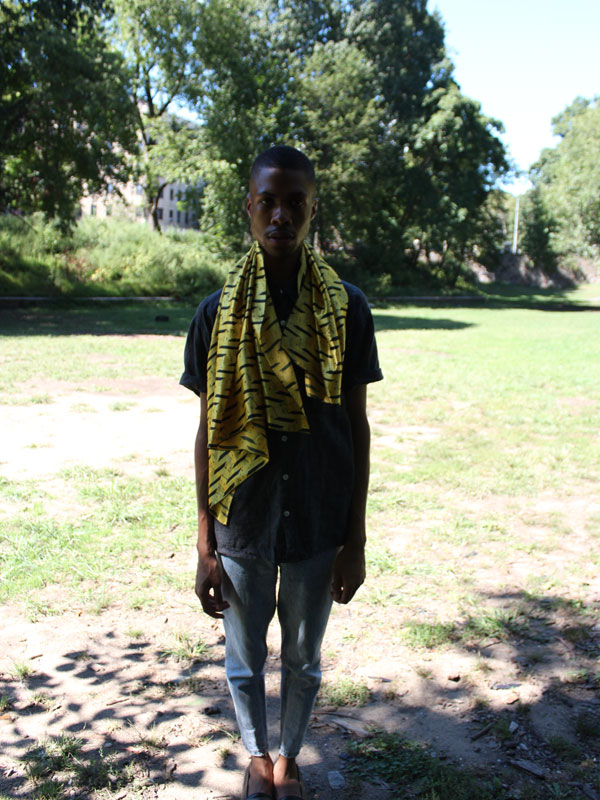
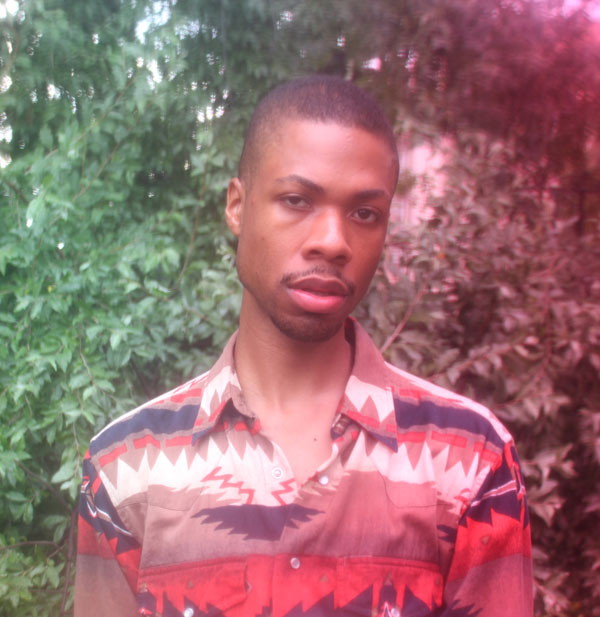
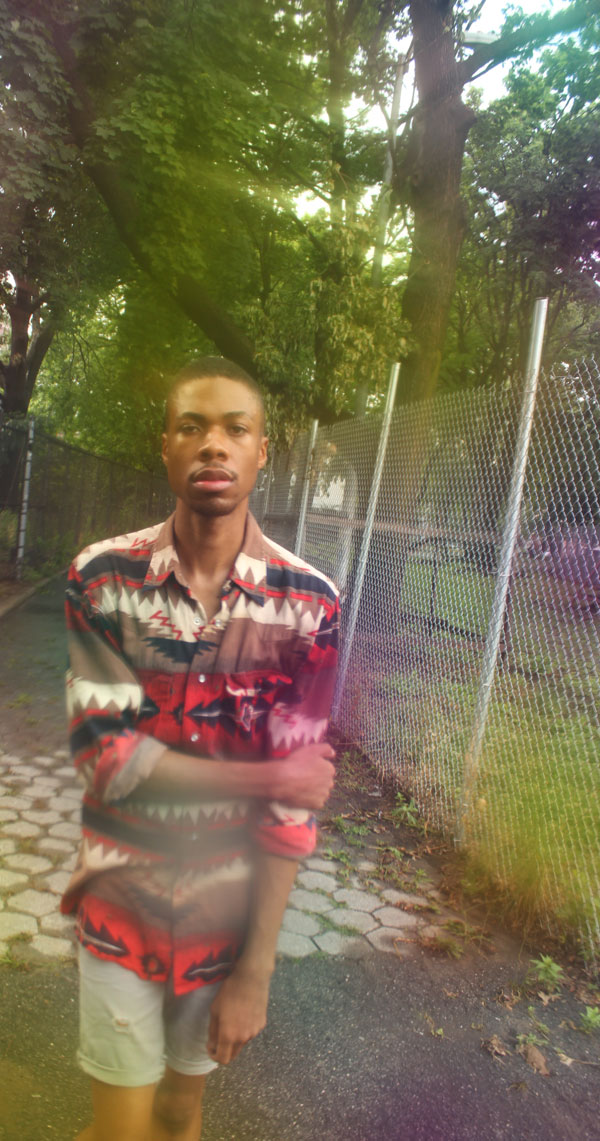
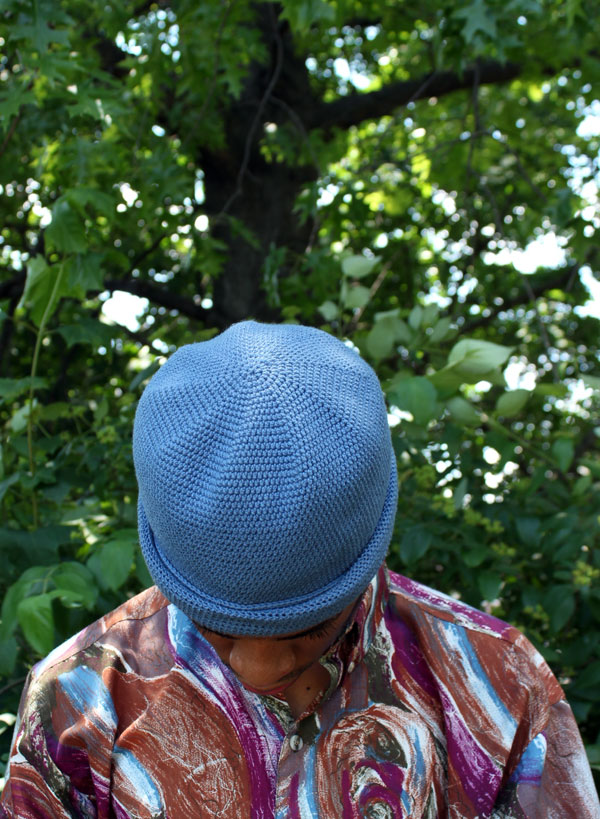
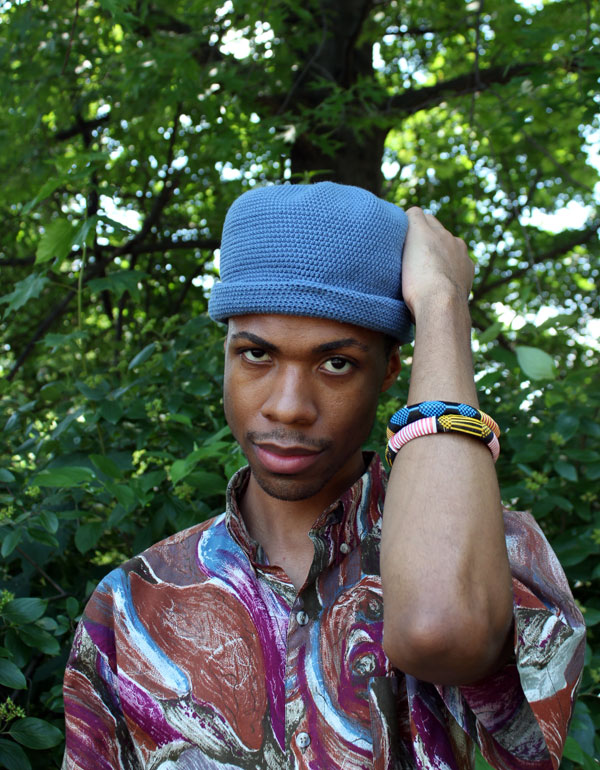
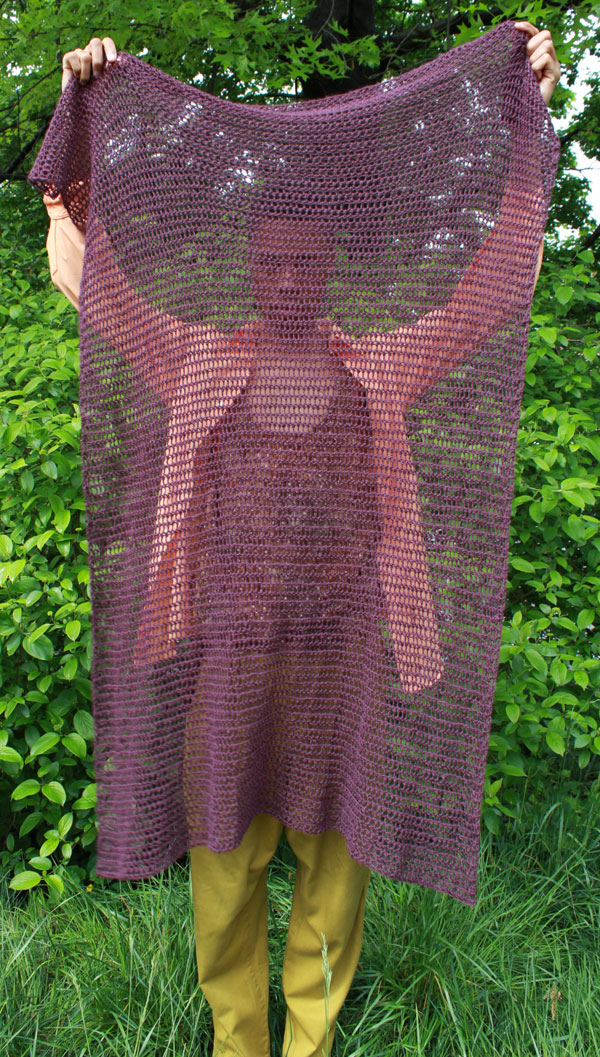
I bought this outfit, besides the socks, at Urban Jungle and the accompanying thrift store behind it this weekend in Brooklyn. I haven't worn sweats in a long time. They're so comfortable. 

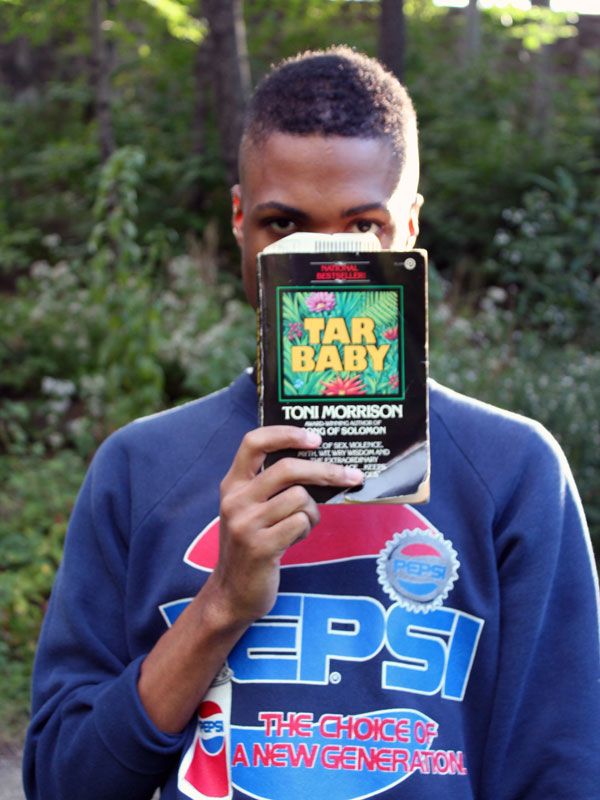
Pepsi or Coke? I have no clue. Honestly, they both taste the same to me. I like this logo, though. It's like 1980s, Michael Jackson-era Pepsi. 


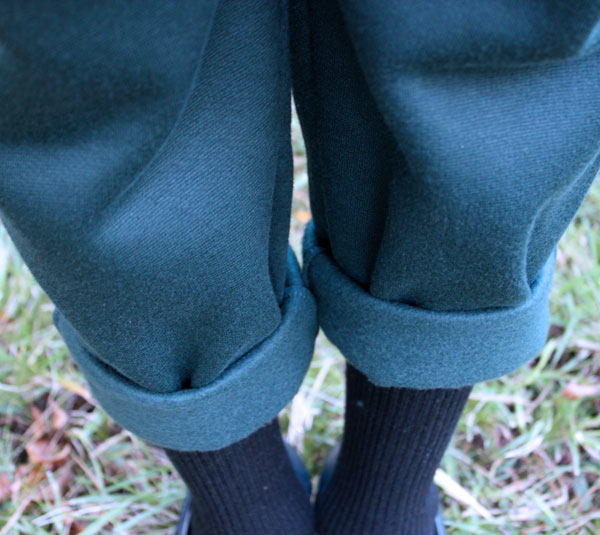
When I find a pair of shoes that fit and that I like, it's like I've struck gold. These are vintage Pierre Cardin's, and they fit so well. This was a magical find, especially considering that my right foot is about 1/4 of an inch longer than my left, or that scoliosis (which I have) causes my torso to push my right foot forward further than my left, giving me the appearance that it's longer. I don't know which one is true, and this is probably too much unimportant information for you, anyway.


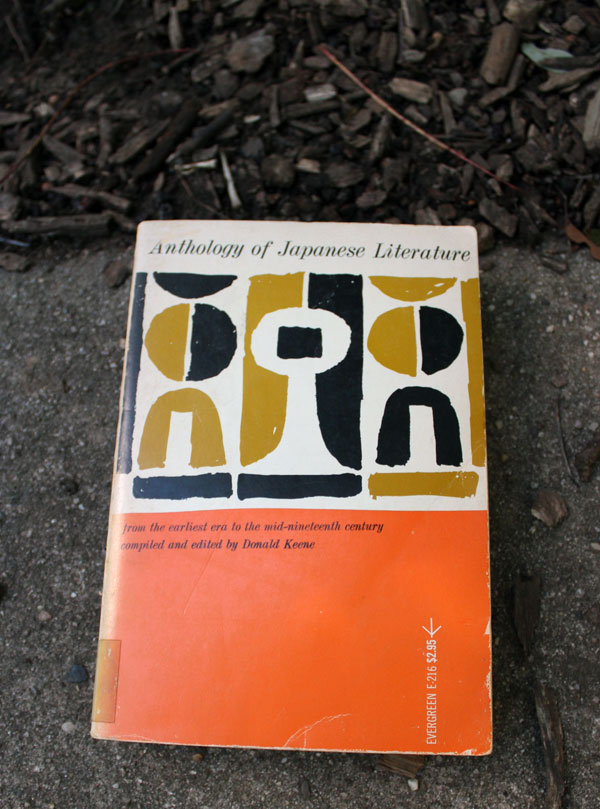
I'm currently reading "Tar Baby" by Toni Morrison. This book is beautifully and powerfully written. It's immersive, with perfect transitions into small story lines that make up the larger one, like a river with streams or a tree with branches. Toni has such a poetic way of writing. This book feels experimental in its approach. It's not rigid. There are tangents and asides, but it all makes sense. It all fits. It's deep, too. The subject matters are complex, and it definitely gets you thinking.

I could go on and on...


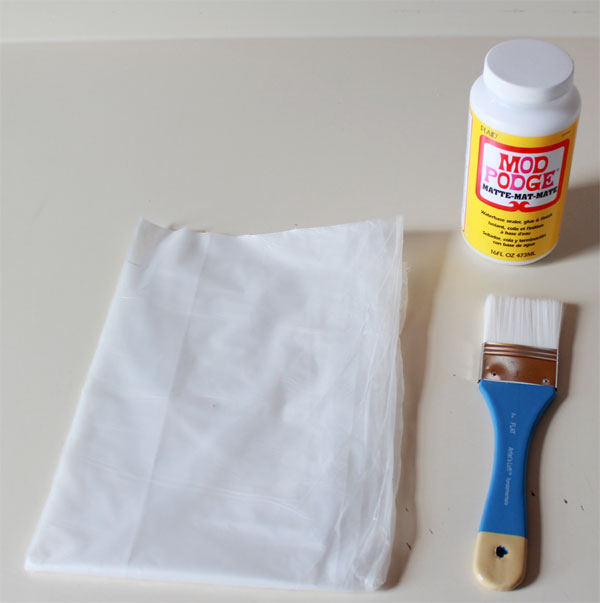
I washed this outfit by hand, in a bucket in my tub. There was something so wonderful about this process. I need to do more hand-washing, and I need to wash with vinegar and castille soap more often. Vinegar is a great cleaning agent, and castille soap is just great, especially Dr. Bronner's.


I feel genuine. I am genuine, but I feel it now, too. I feel it's importance. It's like my soul is insisting that I be true to myself at all times. "All" is an overwhelming concept, and I don't know what it really means yet. I mean, I can't grasp it. Extremes like "all," "everything" and "nothing" elude me. 

I feel mentally distant, too, like I'm in a foggy field. I feel internal. To be honest, that's my comfort zone. 

I also feel vulnerable, but am happy with the idea that if I can resonate with someone/anyone, if I can echo their thoughts and if they can somehow connect with me, then being vulnerable is worth it.


Present Rhythm

These are the things that I'm currently thinking about, in no particular order:


- late-night phone conversations that fill me with hope; that are filled with hope
- uncorrupted dreams
- wild ambition, the kind that kingdoms are built on
- movies that linger ("The Iron Lady," "Paris is Burning," "The New World")


- supreme knowingness
- the frailty of humanity.
- destiny
- halal food is amazing, but (I think) my face is getting fat
- imperfections
- acceptance (?)


- "mistakes" that could be impossible to correct
- fear
- money, and my current apathy toward it
- the implications of indifference
- the fear of a theoretical edge
- the fear of falling, but the uncertainty of where or what I may fall to if I do fall
- vulnerability
- the true meaning of freedom (I don't have the answer to this)


- success, and the amount of work needed to attain it
- happiness versus discipline
- Michelle Obama
- genuine spirits
- politics
- vision


- strategies for winning
- methodical mindsets
- unwavering conviction
- a trust in one's spirit


- swing-dancing
- hamburgers and red wine
- a quest for good beer
- family and family responsibility
- singing and vocal chords.
- jealousy
- power, and an imaginary throne
- an obsessive search for validation (why?)


What I'm wearing:
  • Shirt - thrifted
  • Scarf - thrifted
  • Jeans - vintage, from Rags-A-Go-Go
  • Shoes - vintage, from Vice Versa
  • Bag - thrifted
That's it.


Growth Takes Time

Continue. 
Progress.
Regress. 
Continue. 
Stop. 
Start. 
Continue. 


Life is an accumulation of moments; a slow, cyclical building. Isn't it profound to think about? Exhalation and inhalation. The stubborn progressiveness of life, in spite of tragedies that seem to halt us and loves that churn seconds into honeyed butter. Regardless of mistakes that break us, life does not stop to rebuild. It moves.

Accumulation, building and repetition (breathe in, breathe out) are things that I think about when working on my rug, my longest, ongoing project to-date. It is taking months to make this and I am not halfway done. It will be 75 inches when completed. Over 6 feet tall. Of those 75, as of Sunday, August 26th 2012 I have 15 1/2 completed.

Each row takes about 1 1/2 hours to complete. I do it mostly en route to work. The train is my quiet place, in spite of curious stares. I achieve as doors open and close.

I want this project to be the first of many large-scale creations that serve a purpose. Things that reuse and recycle; that puts discarded materials to good use; that confronts the human construct of waste. I want to help, and clean up. I want to understand, and be a reflection of that understanding.

I want to build, so I build.

For Sale

I opened up an Etsy shop. Here's some of the things I have for sale right now. Each one is handmade, a reflection of hours spent thinking, dreaming, wishing. 

I create to articulate. I create to share.

Orange Cascade Necklace by David Leon Morgan

The Orange Cascade Necklace. Cotton yarn + crochet. Aso in blue and white.

Eclectic Felt Garland by David Leon Morgan

Eclectic Felt Garland. Needle-felting + hemp twine.

Blue and Black Recycled Beaded Necklace by David Leon Morgan

Blue and Black Recycled Beaded Necklace. Cotton yarn + beads from a thrifted seat cushion + crochet.

Green Wrapped and Knotted Bracelet by David Leon Morgan

Two Green Wrapped and Knotted Bracelets. Hemp twine + macrame. Also in red

More items will be added in increments. Check back often <3

Event: Upcycle with Me and Goodwill!

If you are in or near New York City, come and upcycle a garment with me on August 4th, 2012, starting at 2 pm. The event will be hosted at Goodwill's Village Boutique Store

See the flyers below for more information.


We'll be using the pencil eraser and stamping technique as seen here. If you also sign up for Goodwill's Reward Card program, you'll also receive a free T-shirt to upcycle with at the event. 

Please register for the event by calling Marco or Coco at (212) 477-7024 or via email at coco.ogilvie@goodwillnynj.org.

It should be a lot of fun!

Wrapped and Knotted

Create a bohemian, carefree necklace using hemp twine and a simple macrame technique. 

This project requires very minimal materials. In addition to the hemp twine, all you need are scissors, a thumbtack and wall that you don't mind pushing the thumbtack through.

I purchased waxed hemp twine from

hempCRAFT on Etsy

.

To make the necklace, first cut two strands of the hemp twine, about 25 feet in length each. This proved to be way too much for my necklace, but I would rather have more than less. You can experiment with different lengths, if you prefer.

Place the two pieces of twine together, then make a simple knot in the middle. You should now have four strands of hemp twine to work with. 

Push your thumbtack through your wall. If you don't want to put a hole in your wall, you can take down a picture frame and use its nail. You could also use a piece of balsa wood to make this necklace, but I found using this be very difficult to maneuver the long pieces of hemp twine. 

This necklace is formed by a series of wraps and knots. To make the wrap:

  • Grab one strand of the hemp twine with your left hand, and hold the other three strands in your right hand. 
  • Pull the single piece in your left hand away from the other strands, then bring it under and over the strands, pulling somewhat tightly. 
  • Let go of the three strands with your right hand then pick up the single strand using that same hand.
  • Pick up the three strands with your left hand. Pull the single strand tightly and repeat, alternating between hands as you go along. 

As you are wrapping, periodically push the wrapped twine up with your thumb and index finger. This will help to make sure that your wrap is tight. 

Once you have about 3 inches of twine wrapped, grab all four strands of your twine and make a knot at the end of the wrap to keep it in place. 

Repeat the above steps until you have a necklace length that you like. 

Once you are finished, cut the extra, unwrapped portion of your hemp twine, leaving about 15 inches remaining. 

Remove the twine from the wall, then grab the loose ends and insert it through your original starting looping.

You now want to close your necklace. To do this, take one of the four pieces of loose twine and wrap it around both of the other three twine pieces, as well as the starting loop that they are pulled through. 

If you prefer, you can pin your necklace to a small piece of balsa wood in order to wrap it on a hard surface. This is optional though. You can do just as well by wrapping it only with your hands.

Once the cord is wrapped, insert the wrapped twine into a large-eye needle. Then, sew it back through the wrap you just made. This will secure the wrap.

The wrapped twine should now be at the opposite end of the other twine ends. 

For additional security, and if you have enough twine left, you can sew the twine end through the nearest knot in your necklace, then sew it back through the wrapped previously made. 

Once the wrap is secure, you can simply cut the remaining twine ends to complete your necklace. I decided, however, to braid the twine ends in order to incorporate it into the overall look of the necklace.

I like how it turned out. 

It also looks great when layered with other jewelry. 

Photo Filters

Make interesting photo filters using Sharpie markers and the lid on top of a can of Pringles. This is an extremely easy, 30-second DIY project.


First, clean the front and back of your lid with a household cleaner, or at least damp a paper towel with water and wipe any crumbs or dust out.


Then, use a Sharpie to draw any design that you want on the lid. The filter works best if you have lots of colors.


Voila! You have new filters. Please note that the Sharpie ink may smudge after it is applied on the top of the lid. It does not dry completely.

The pringles lid is too big to fit securely in front of my cameras, but it stayed when I propped it on the top edge of my Canon Rebel T3i. I also just held it in one hand sometimes when I took a few pictures.


Be especially careful that you do not accidentally smudge your camera lens. Also, please be careful that you do not scratch your lens. Make sure the smoothest side of the lid is facing toward it.


Hat Turned Bag Turned Hat


At last, I'm finally finished with my hat. In a past post, I mentioned that I would turn it into a bag. However, after making strap holes on it, I just didn't like the way it looked. I want everything I make to be something that I absolutely love and would use all the time, and I knew I wouldn't wear that bag. Besides, I carry way too many things throughout the day. I need big, sturdy bags. As a result, I re-transformed it into a hat and am really happy with the results.


Blocking it was a bit of a struggle, as I assumed it would be. It's very challenging to block cylindrical items. I spent a few weeks obsessing over purchasing a hat block that fit my head measurements, but I was afraid that it wouldn't work with a crocheted item, especially something made with wool yarn. There is a always a bit of elasticity in it, so I was worried that it would be too tight. Providentially, I found a bucket in my house that was the perfect size.


My head measures 22 1/2 inches, and the bucket measures 23 1/2 - 25 inches (it gets bigger at the top). I stopped at about 24 inches. This seemed a bit counterintuitive to block it at this width, but I'm assuming that the reason I needed it this wide is because I folded the hat twice to make a cuff. Anyway, it fits perfectly.


Note: I blocked the top of the hat by laying it flat before I blocked the width of the hat with the bucket.


I'm offering this hat as a made to order item in my shop. It's currently recommended for 22-23 inch head sizes, but more sizes will be added as soon as I figure out how to properly block them :)


Heart of Hearts

I love the idea that larger things are a composite of smaller things. We are a collection of cells and atoms. We are a part of the human population, which is in turn a part of the world population. We are a part of a whole, and that whole is a part of another whole. This nested dependency is never ending.

Here is a simple craft project that reminds me of this idea. I decided to use the backing of an old frame I had, but this can easily be done with a cardboard box or even a cereal box. It makes a fun craft that parents and children can do together, too.


The supplies I used were:

- scrap pieces of paper (the more diverse the better)
- a pencil
- a small heart paper punch
- glue sticks (one was really enough for me)
- a box cutter
- a cutting board
- Modge Podge
- a paintbrush
- a sheet of plastic, along with a plate or bowl
- sandpaper


First, I drew a shape of a heart on my picture frame with a pencil.


Then, I began punching out hearts from my scrap paper.


In order to get the most hearts out of each piece of paper, I found it helpful to have the back side of the paper punch facing me. That way I could determine the proper placement.


Once I had enough hearts, I applied some glue to their back side with my glue stick. Then, I glued them onto my frame backing.


It was a bit time-consuming to apply the hearts this way, but I found it very therapeutic (I love process). If you would like a faster solution, you can create heart stickers using a Xyron sticker maker.


Once I had enough hearts within my heart (*sigh*), I cut it out using a box cutter. My backing was thick, so this was a little challenging. Please be careful if you plan on trying this.


After the heart was cut out, I added a few coats of Modge Podge on the top as a sealer and finisher. Then, I sanded the edges a bit with sandpaper. 


It's now ready to be hung on the wall, propped up on a dresser or given as a gift.


Velvet Mouth


Velvet Mouth:

the light sways on your lips

(honeyed breaths in morning glory)

soft hand to touch;
draped kiss to melt;

crimson petals, dew-filled;

slow lake of thorns:
pleading tips

(a lovely rush to draw)


The poem written above is from my self-published collection of writings, "In/Within."


Circular

For a recent Featured Project on CraftFoxes, I embellished a plain white T-shirt using fabric paint and a pencil eraser. I really like this simple stamping technique, so decided to apply it to a green shirt I found at the thrift store. 


I wanted it to have big circles, so decided to use embroidery hoops as stencils. The other materials I used were:

- Folk Art Fabric Paint from Plaid (colors #4425 and #4408)
- an unused pencil
- two pieces of thick cardboard
- and a plastic plate. 


To make my design, I first laid out my embroidery hoops in the design I wanted on my shirt.


Then using my disappearing ink pen, I traced the design onto my shirt. This pen is great because the ink really does disappear after a light wash or on its own after a few days. 


Once my design was completely transferred onto the shirt, I put the pieces of cardboard in between the shirt, in order to prevent the fabric paint from bleeding to its back side. The shirt I used was quite thick, but I still did this to be on the safe side. 


Then, I put a small amount of fabric paint on my plastic plate.


Using my pencil's eraser, I began to paint my shirt. I decided to fill each circle I stenciled with dots. 


I used orange fabric paint for one of the circles, and really like the overall look. 


I let the fabric paint dry for 24 hours, then used a towel and iron to heat-set it, according to the fabric paint's instructions. 


After about 72 hours, I hand-washed it in cold water, then placed it in the dryer on the low setting. You can also air dry it, if you want.  


Voila! My "new," painted shirt is now ready to be worn. 


A Yarn Infuser

If you are working on a small crochet or knitting project, store thin yarn in a tea infuser for safekeeping while traveling. It's sort of like your own mini, covered yarn bowl.


I purchased my tea infuser from a thrift store. After thoroughly cleaning it, here is how I transformed it into my "yarn infuser:"

The supplies I used were a pair of pliers (particularly made for jewelry-making), mercerized cotton yarn, a small clasp, a small jump ring, a pair of scissors and, of course, my thrifted tea infuser.

Make sure that the yarn you use is thin enough to go through your infuser's holes.


First, I removed the hook attached to my infuser with my pliers.


Then, I open up my jump ring with my pliers, and inserted the clasp in the jump ring. Once the clasp was inserted, I put the jump ring through the top of my tea infuser's chain and closed it. 


Then, I created a ball big enough to fit into my infuser from my yarn. A good tutorial for creating a yarn ball can be found here.


Then, I inserted the end of the yarn ball through one of the top holes of my infuser.


Finally, I put the lid on my infuser, and attached it to my favorite bag. 


If your crochet or knit project is small enough, you might be able to fit it in your infuser along with your yarn. Be sure that the top and bottom edges of your infuser are thoroughly cleaned, though. Otherwise, it may leave a mark on your yarn. 

If it is too big, you can simply carry a pouch to store your yarn infuser and your project together. 


P.S. - Follow me on Twitter and "Like" me on Facebook.

The Benjamin Bag

In a previous post, I showed a picture of a hat that I was in the middle of creating. Being a habitual multi-tasker (I'm working on fixing that), I set that project aside for a few months and created my Kim Shawl. Now that the Kim Shawl is completed, I resumed working on this project. Reuniting with it, I've decided that this hat-in-the-making is better suited as a bag. I have named it Benjamin.

The Benjamin bag, a work in progress.

An inside look at the Benjamin bag, with the remaining yarn to be stitched.

I am adding a little right triangle in the bag's design. I think I will add this to each order for this bag I get. I intend to sell it in my shop once it is finished.

I am adding a right triangle to the Benjamin bag.

The bottom of the Benjamin bag


This bag is similar to the "Process" bag I showed in my very first blog post. However, instead of having the strap wrap around the bag like that one, I am going to have a simple drawstring bag. It will also be unlined.

"The Benjamin Bag " by David Leon Morgan

Simplicity.

Paper Rings

A few weeks ago, I created a paper craft project on CraftFoxes. I wanted to offer a variation on the traditional paper ring garland, so decided make a wider, somewhat more sculptural version.


Expanding on this idea, I decided to create a larger version using leftover printer paper I had. 


It is easy to do this project. All you need is strips of paper and glue. The time it takes to finish depends on how long and wide you want your finished result to be. Mine measures about six feet tall.


In/Within

After much hard work, my first collection of poetry and creative writings is now complete. Meet "In/Within."


Many of the works in the book reflect my belief that true revolutions occur in the smallest of moments first. The importance of these moments inspire me, so a lot of my writing tends to focus on just a few of them.

Other works in the book share my fascination with the beauty of words, and how words can be used to evoke these small revolutions (the title, "In/Within" is meant to reflect the subtle differences between going deep and going deeper), as well as how the sounds of words themselves, and the interpretive movement of the mouth as it says them, often play an important role in articulating their meaning (for an easy example, think of "fat" or "long").

Most of the works are very short because I wanted to get down to the essence of my thoughts. The thought "What do I really want to say?" is my life's challenge.


There are 17 individual works, and the book measures 3 1/2 inches wide and 4 7/8 inches long. Short and sweet. I designed and printed the cover, printed each page with my small ink-jet printer (a.k.a. The Little Printer That Could) and then hand-bound each book with a simple pamphlet stitch.

I learned so much while creating this book, and am so proud to finally share it. Purchase it here, then tell me what you think of it :) [Update 10/29/2012- No more copies are available at this time. However, more will be added soon!]

The Kim Shawl

A few weeks ago, I finished a long shawl that I had been working for about seven weeks. It is made in LB 1878 wool yarn from Lion Brand, in plum. I have named it "Kim," after my beautiful Aunt.

It is approximately 5 feet 3 inches long and about 3 feet 2 inches wide.


Since it is made in wool, the texture is a little coarse. I like this, though. It makes the shawl a bit more masculine and present when I wear it.


I always prefer scarves and shawls that are long and wide. I want to be wrapped. A beautiful shawl really adds depth and intrigue to an outfit.


The item will be available for sale soon in my new shop, which I am currently designing. [Update 5/10/2012] - This shawl is now available in my new shop

Elsewhere: Make a Recycled Card Journal


In my latest guest blog post for FaveCraftsBlog.com, I created a tutorial demonstrating how to create a journal with an old card. Made in conjunction with their Earth Week theme, this is a great, recycled craft project that gives you the opportunity to add practical use to a cherished card from a loved one.

For the example in my guest post, I made a small journal with a place card I had laying around. After I finished the post, I decided to create another journal using a beautiful card I received from my friend, Shaun. It's perfect for poetry, grocery lists or random doodles. I'll keep it in my bag for whenever the inspiration hits.


Brown, Browns


I discovered on Pinterest a great and simple idea for turning an old leather belt into a bracelet. Inspired, I took a super-long belt that I bought from the thrift store a few months ago, and decided to create my own bracelet. I made my bracelet a bit different from the image source I was inspired from, as I didn't want a buckle showing. Here's how I did it (it's really simple):

First, I grabbed my old belt and a pair of scissors.


Then, I cut off the buckle. I kept the stitch holding the piece of leather attached to the buckle in place, as my belt was braided and I didn't want it come undone. The stitch kept the braid in place.


Then, I took the end I cut and began wrapping it around my wrist. 


I didn't want the ends to show, so I tried to tuck them in as best as I could.


That its! I told you it was easy ;) Since there is no fastener to keep the bracelet in place, I had to readjust it a few times as a I wore it. For some reason I didn't mind this, though. It seemed to add to its charm. 


I'm wearing:

Elsewhere: A 'Jurassic Park ' Terrarium

I am currently working freelance as a Community Editor for CraftFoxes.com, a new online community for crafters of all mediums.

Every other week, I have begun to create craft projects for the site. This week, I made my first terrarium. I was surprised at how easy it was to make. I decided to go with a Jurassic Park theme, as the project was initially inspired by a Star Wars terrarium posted on the site. You can find the instructions for making a basic terrarium in that project, too.


Check out The Jurassic Park Terrarium's dedicated blog post here, as well as its project page.